
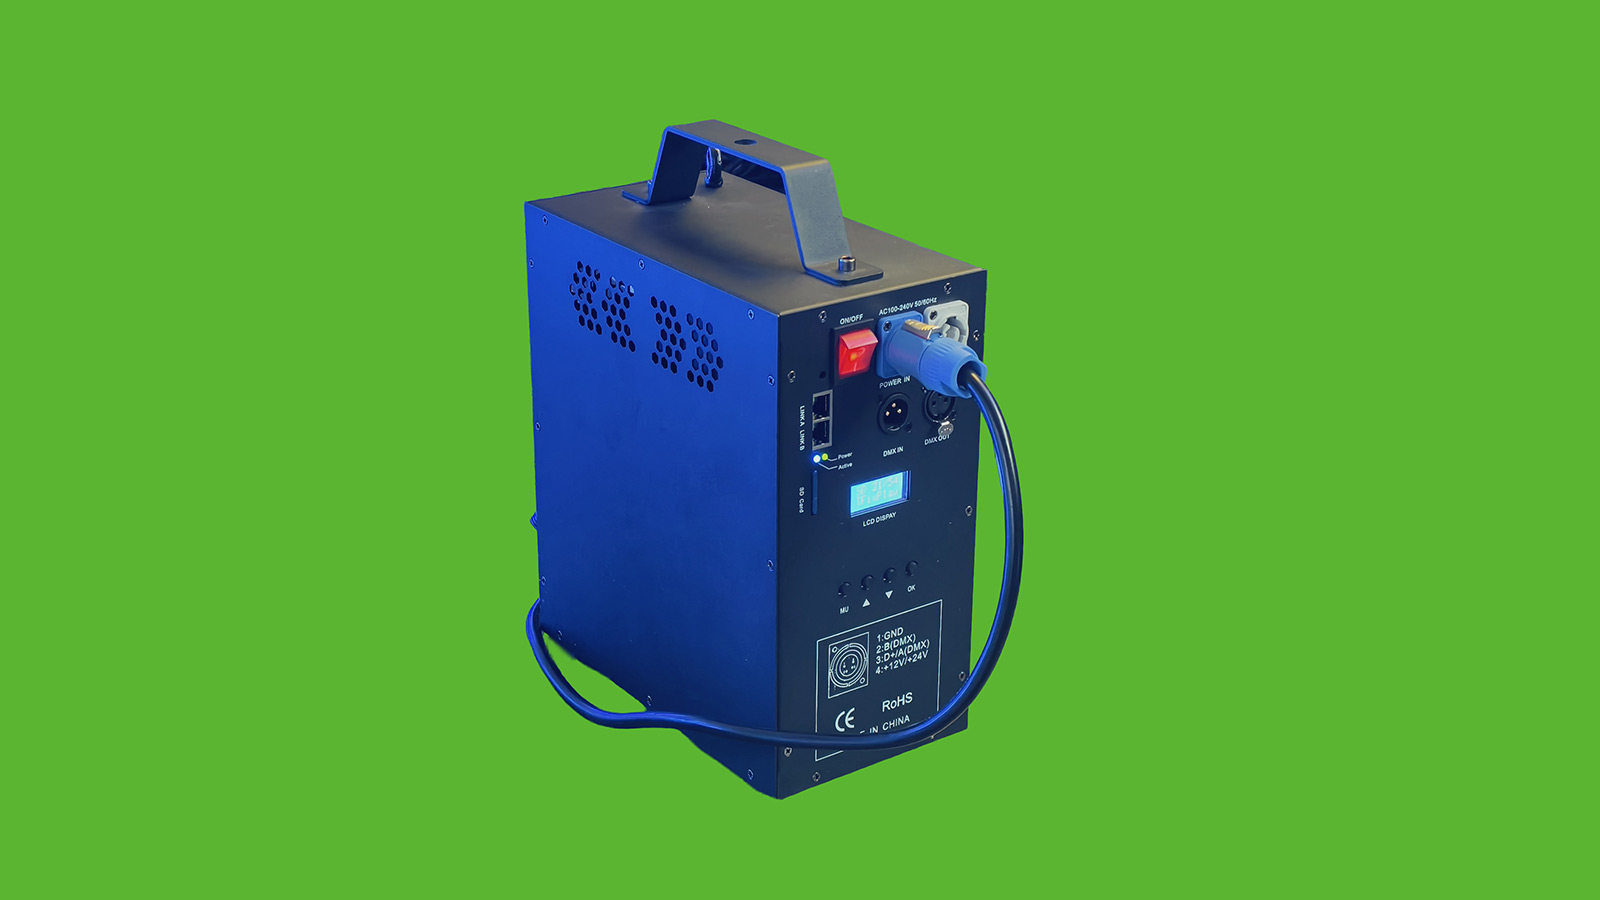
1. PRODUCT OVERVIEW & HARDWARE ARCHITECTURE
[Image: Front View – Power Switch, LCD Display, Buttons, SD Card Slot, DMX Ports & Network Link]
[Image: Rear View – 8x Heavy-Duty 4-Pin XLR Aviation Outputs with Independent Fuses & Cooling Fan]
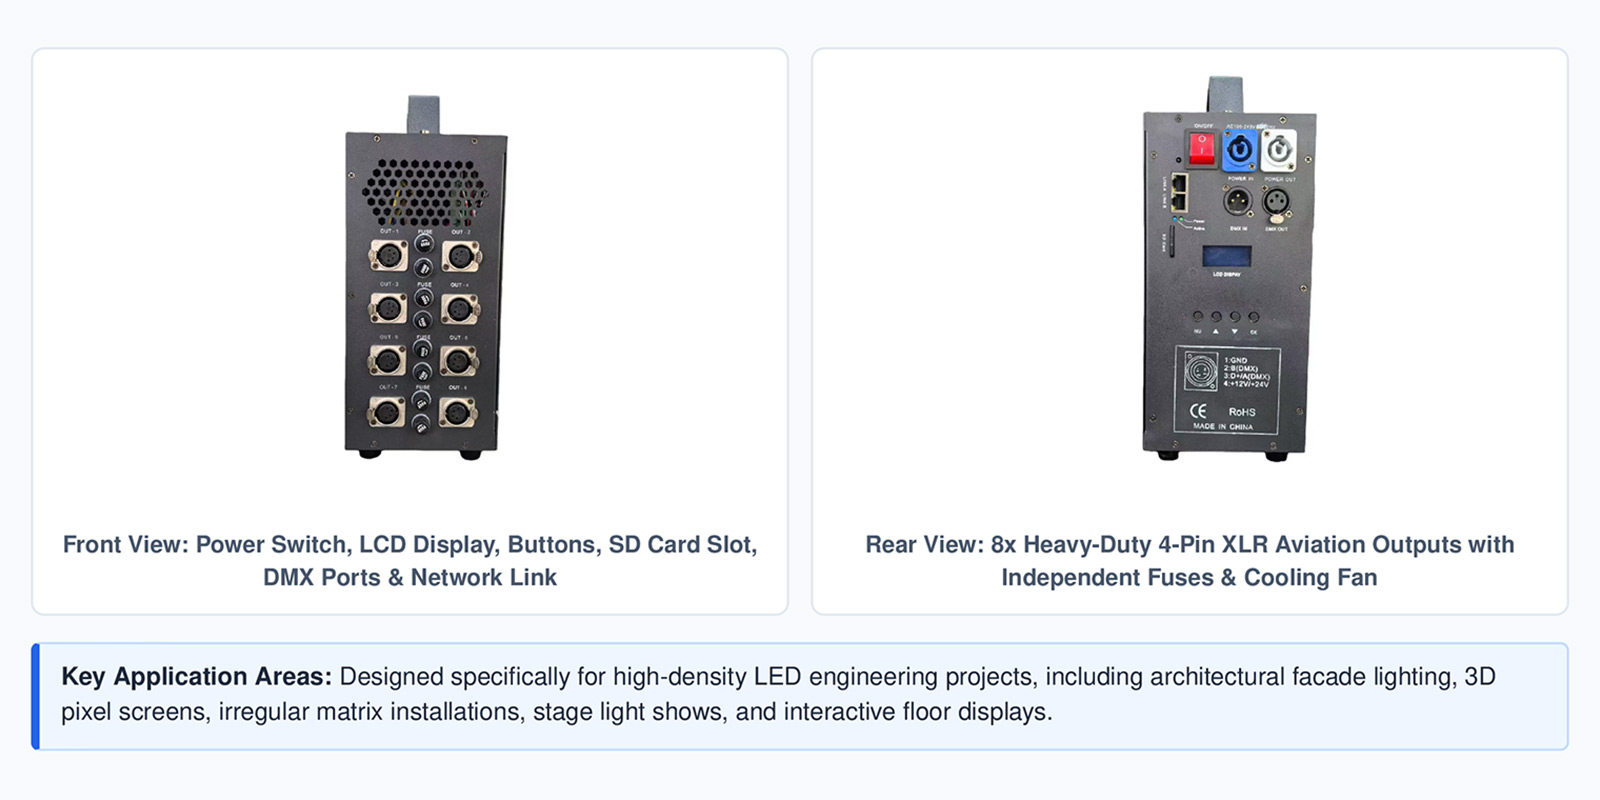
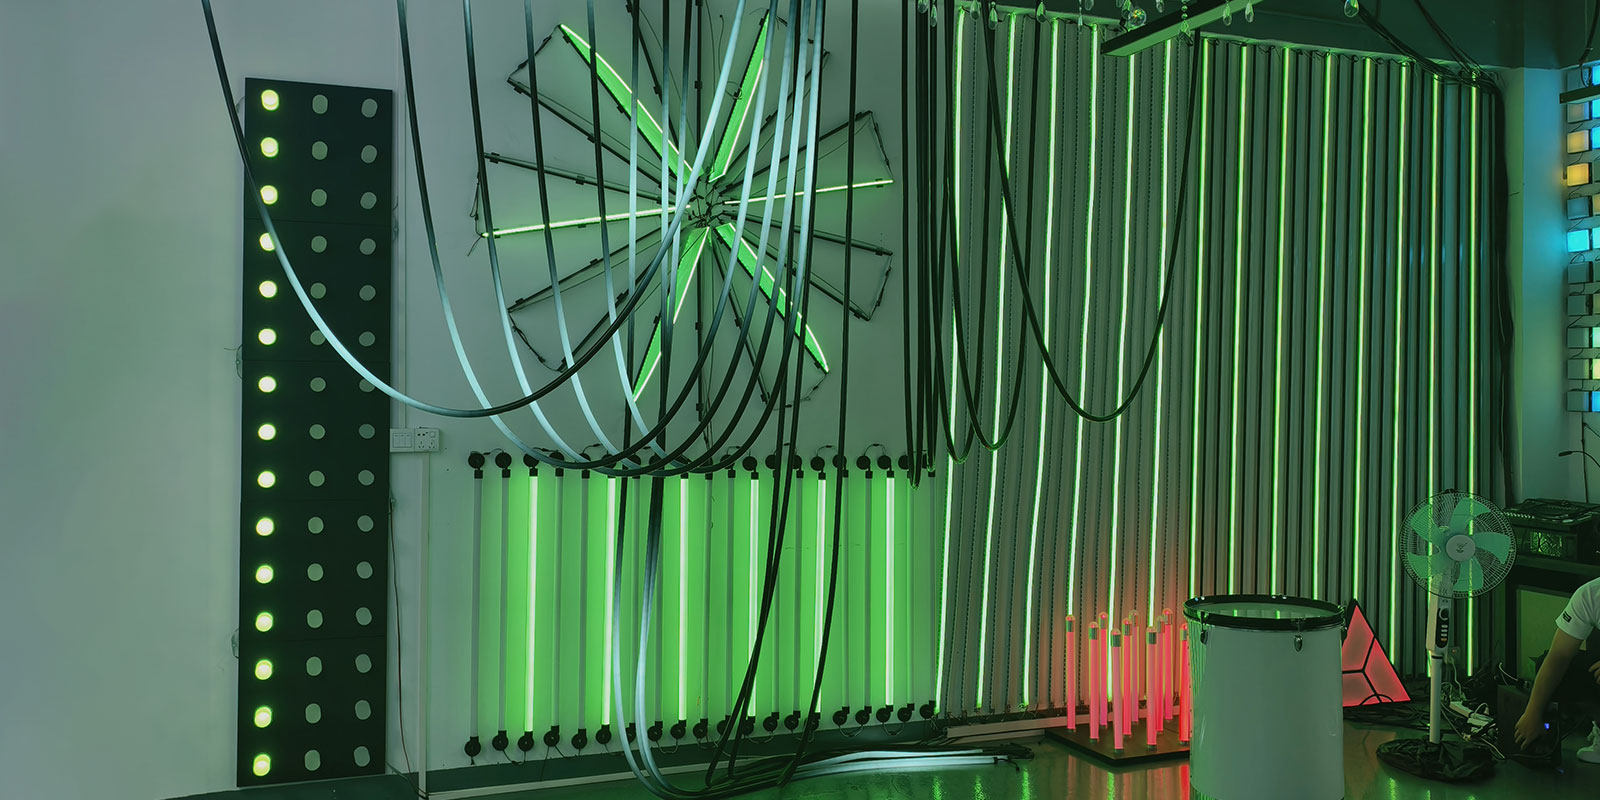
Key Application Areas: Designed specifically for high-density LED engineering projects, including architectural facade lighting, 3D pixel screens, irregular matrix installations, stage light shows, and interactive floor displays.
Core System Features
- Ultra-High Capacity: 8 independent output channels supporting up to 1,024 pixels per port (8,192 total pixels per unit).
- Flexible Control Modes: Standalone playback with built-in automatic, timed, and holiday presets. Supports multi-unit cascade sync.
- Integrated Interfaces: RS485 / DMX512 inputs for real-time scene selection, speed adjustment, and master dimming.
- Dual Video Backup: Automatically switches to offline SD playback when online video feed is interrupted.
Pro-Grade Design & Compatibility
- RGBW & Protocol Mixed Support: Full support for 4-color (RGBW) fixtures and mixed setups with different IC protocols on different ports.
- Dual Signal Redundancy: Hardware-level dual signal paths maximize system uptime and reliability.
- Gigabit Ethernet & Art-Net: Stable UDP network transmission up to 100 meters, compatible with standard switches.
- Onboard Storage & Self-Test: SD card support up to 32GB (up to 99 scenes) + 13 built-in hardware test patterns.
2. TECHNICAL SPECIFICATIONS
| Parameter | Specification Value |
|---|---|
| Input Voltage | AC 110V – 240V Wide Range (50/60Hz) |
| Dimensions (L×W×H) | 290 mm × 290 mm × 210 mm |
| Total Power Output | DC24V / 2250W Total (Up to 280W per port) |
| Weight | 7.2 kg |
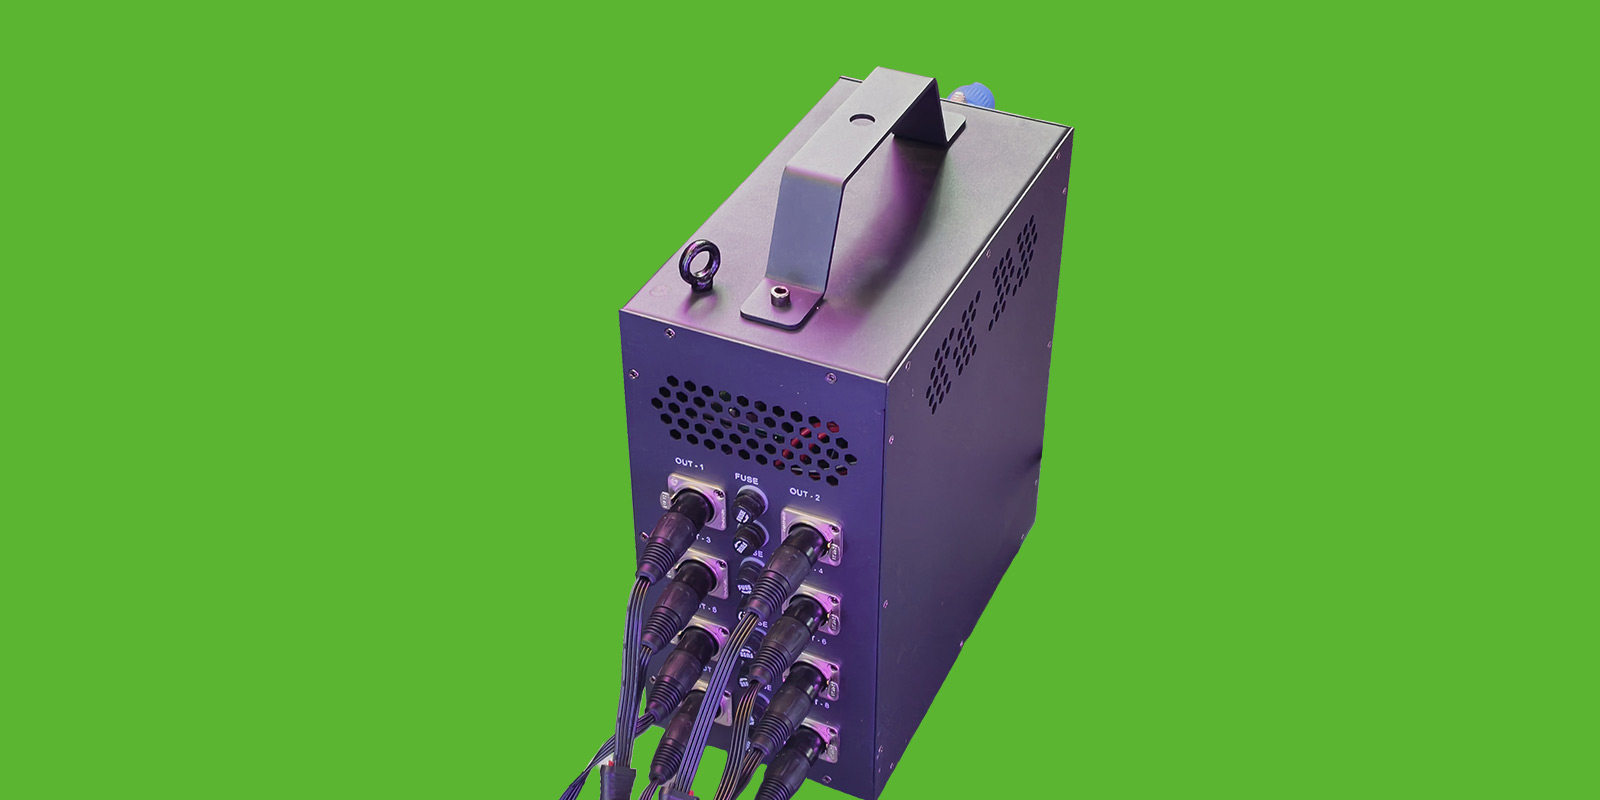
3. AVIATION XLR OUTPUT PIN DEFINITION
| Parameter | Specification Value |
|---|---|
| Output Ports | 8× Heavy-duty 4-Pin Aviation XLR Ports |
| Signal Formats | TTL / SPI × 8 Channels + DMX512 × 8 Channels |
| Pixel Capacity | 1,024 Pixels / Port (8,192 Pixels Total) |
| Protection Rating | IP00 (For indoor ventilated installations) |
| Operating Temp / Humidity | 0℃ to 60℃ / ≤50% RH (Non-condensing) |
| Accessories Included | SD Card ×1, Power Cable ×1, XLR Plugs ×8, 1m DMX Cable ×1 |
Each of the 8 output channels utilizes a heavy-duty 4-pin XLR connector combining power (DC24V) and signal transmission into a single robust connection.
| Pin No. | TTL / SPI Mode | DMX512 Mode | Description & Function |
|---|---|---|---|
| Pin 1 | GND | GND | Power Ground (-) & Signal Common Ground |
| Pin 2 | – | DMX- (B) | Differential Signal Negative (B-) / TTL Ground |
| Pin 3 | DATA (TTL+) | DMX+ (A) | Data Signal Output / Differential Signal Positive (A+) |
| Pin 4 | V+ (DC24V) | V+ (DC24V) | Power Positive Output (+24V DC, Max 8A per port) |
4. LCD DISPLAY MENU & QUICK NAVIGATION
Press MENU to open settings, ▲ / ▼ to navigate options, OK to confirm/save, and MU (Undo/Cancel) to exit.
| Menu Item | Name | Functions & Parameters Description |
|---|---|---|
| MENU: 1 | PAR SET | Parameter Settings. Set playback mode (Loop, Wait, or Scene 01–99), frame rate/speed (*SPD/*FPD), master brightness (0–100%), per-channel (R/G/B/W) brightness, and Device ID. |
| MENU: 2 | DMXAddr | DMX Address Writer. Select DMX driver IC (e.g., UCS512, DMX512AP, TM512, SM16512), configure channels per fixture (TD) and start address (S), then write address with one click. |
| MENU: 3 | Test | Hardware Self-Test. 13 built-in test modes: Single Point, Red, Green, Blue, White, Rainbow Gradient, Greyscale Ramp, and HLIN Port-by-Port sequential testing. |
| MENU: 4 | SD/EMMC | Storage Mode. Select between SD Card and internal storage mode (System reserved expansion). |
| MENU: 5 | KongTai | DMX Console Mode. Configure external DMX control channel profiles (4CH, 7CH, 8CH, 12CH, 18CH, 20CH, etc.). |
| MENU: 6 | ModeSet | Master / Slave Mode. Switch device role between MasterMODE (Master controller) and SlaveMODE (Sub-controller). |
| MENU: 7 | Artnet | Network & Art-Net. Configure Start Universe (START U) and device IP address (Supports 192.168.x.x and 2.x.x.x subnets). |
| MENU: 8 | Default | Factory Reset. Press OK to restore all settings to default. Automatically resets device to Master Mode. |
5. EXTERNAL DMX CONSOLE CHANNEL MAPPING
| Channel | 4-Channel Mode (SLJF) | 7-Channel Mode (SLRGBJF) | 8-Channel Mode (SLRGBWFJ) | 12-Channel Mode (SLRGBWFJfrgbD) |
|---|---|---|---|---|
| CH1 | Speed Control (0-255) | Speed Control (0-255) | Speed Control (0-255) | Speed Control (0-255) |
| CH2 | Master Dimmer (0-255) | Master Dimmer (0-255) | Master Dimmer (0-255) | Master Dimmer (0-255) |
| CH3 | Program / Scene Select | Red Dimmer (0-255) | Red Dimmer (0-255) | Red Dimmer (0-255) |
| CH4 | Strobe Control | Green Dimmer (0-255) | Green Dimmer (0-255) | Green Dimmer (0-255) |
| CH5 | – | Blue Dimmer (0-255) | Blue Dimmer (0-255) | Blue Dimmer (0-255) |
| CH6 | – | Program / Scene Select | White Dimmer (0-255) | White Dimmer (0-255) |
| CH7 | – | Strobe Control | Program / Scene Select | Program / Scene Select |
| CH8 | – | – | Strobe Control | Strobe Control |
| CH9-12 | – | – | – | CH9-11: Background R/G/B | CH12: Playback Direction |
6. SOFTWARE QUICK SETUP (YC PLAYER & MADRIX)
YC Player Configuration
Open Settings: Launch YC Player, select Settings (S) -> Hardware Settings, enter password YC.
MADRIX / Third-Party Integration
- Enable Art-Net Broadcast: In YC Player, go to Tools (T) -> Art-Net. Select local IP, set controller count (e.g., 1), and Start Universe, then click Write & Search.
- Network Link: Select your local network card IP matching the controller subnet under Network Settings. Check status under Layout Settings (Green = Connected, Red = Disconnected).
- IC & Port Load: Under Controller Parameters, choose the driver IC (e.g., UCS1903/DMX512). Set channel count and pixel load per port using the reference below:
| Channels / Port | Max Pixels | Art-Net Universes |
|---|---|---|
| 512 Channels | 170 Pixels | 1 Universe |
| 1024 Channels | 340 Pixels | 2 Universes |
| 2048 (Recommended) | 680 Pixels | 4 Universes (High Refresh) |
| 3072 Channels | 1024 Pixels | 6 Universes |
- Device Scan in MADRIX: Press F4 in MADRIX to open Device Manager. Check Enable Art-Net in the ArtNet tab, then click the Scan/Search button.
- Activate Devices: Select the found controller IP (e.g., 192.168.1.6) and set the state to On. In the DMX Devices tab, turn all corresponding DMX channels to On and complete output mapping.
7. FIELD WIRING GUIDELINES & SAFETY STANDARDS
CRITICAL SAFETY WARNING: The YC-Super8 controller operates on AC 110-240V mains power and features an industrial metal enclosure. The metal casing MUST be securely grounded. Exposing output metal terminals requires a proper signal ground (GND) connection to prevent static discharge or electric leakage.
Network & Cable Cabling
- Controller-to-Controller / Switch: Use crossover cabling standards (568B to 568A).
- Controller-to-PC Direct: Use straight-through cabling (568B to 568B). Custom wire sequences are strictly prohibited!
- Offline Files: SD card MUST be formatted to FAT32 before saving offline scene files.
Long-Distance Transmission
- Shielded Twisted Pair: For long-distance signal output, use an RS485 dedicated cable or CAT5e/CAT6 shielded cable (Orange = A, Orange-White = B, Common = GND).
- 120Ω Terminal Resistor: Install a 120Ω resistor across the A/B signal lines at the last fixture in a long run.


